Procedure
This section outlines the low level workflow procedure of our project. It will be delineated in steps.
The following explains the functionality of each function we wrote:
createBackground(image)
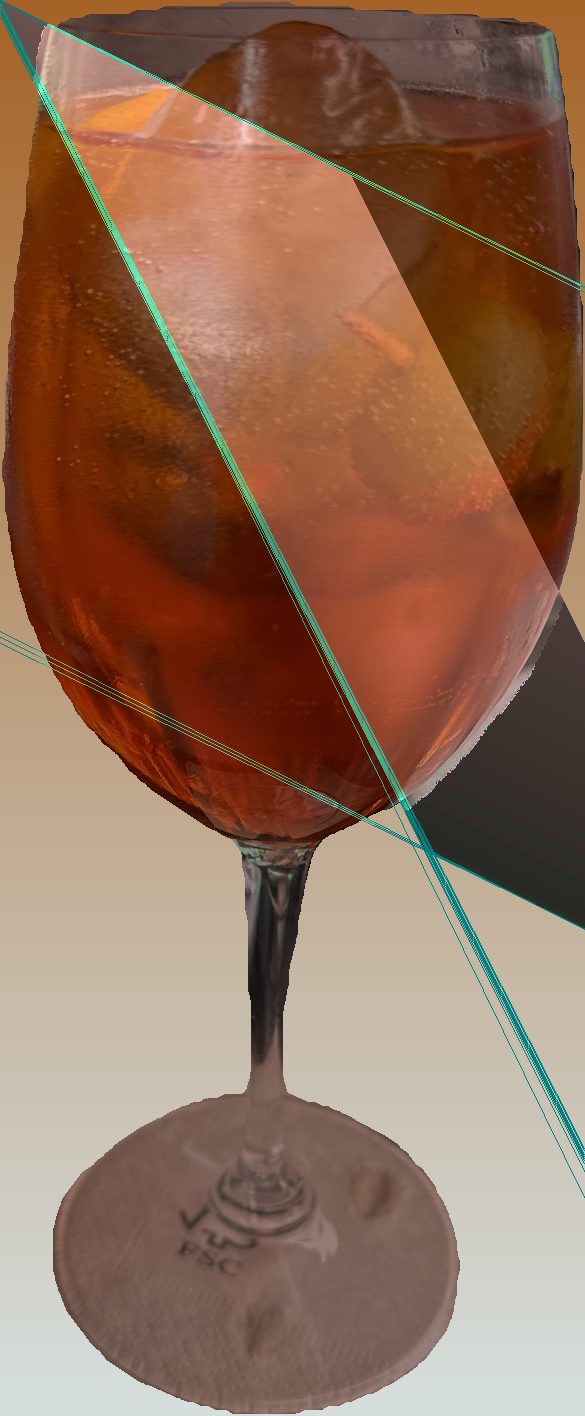
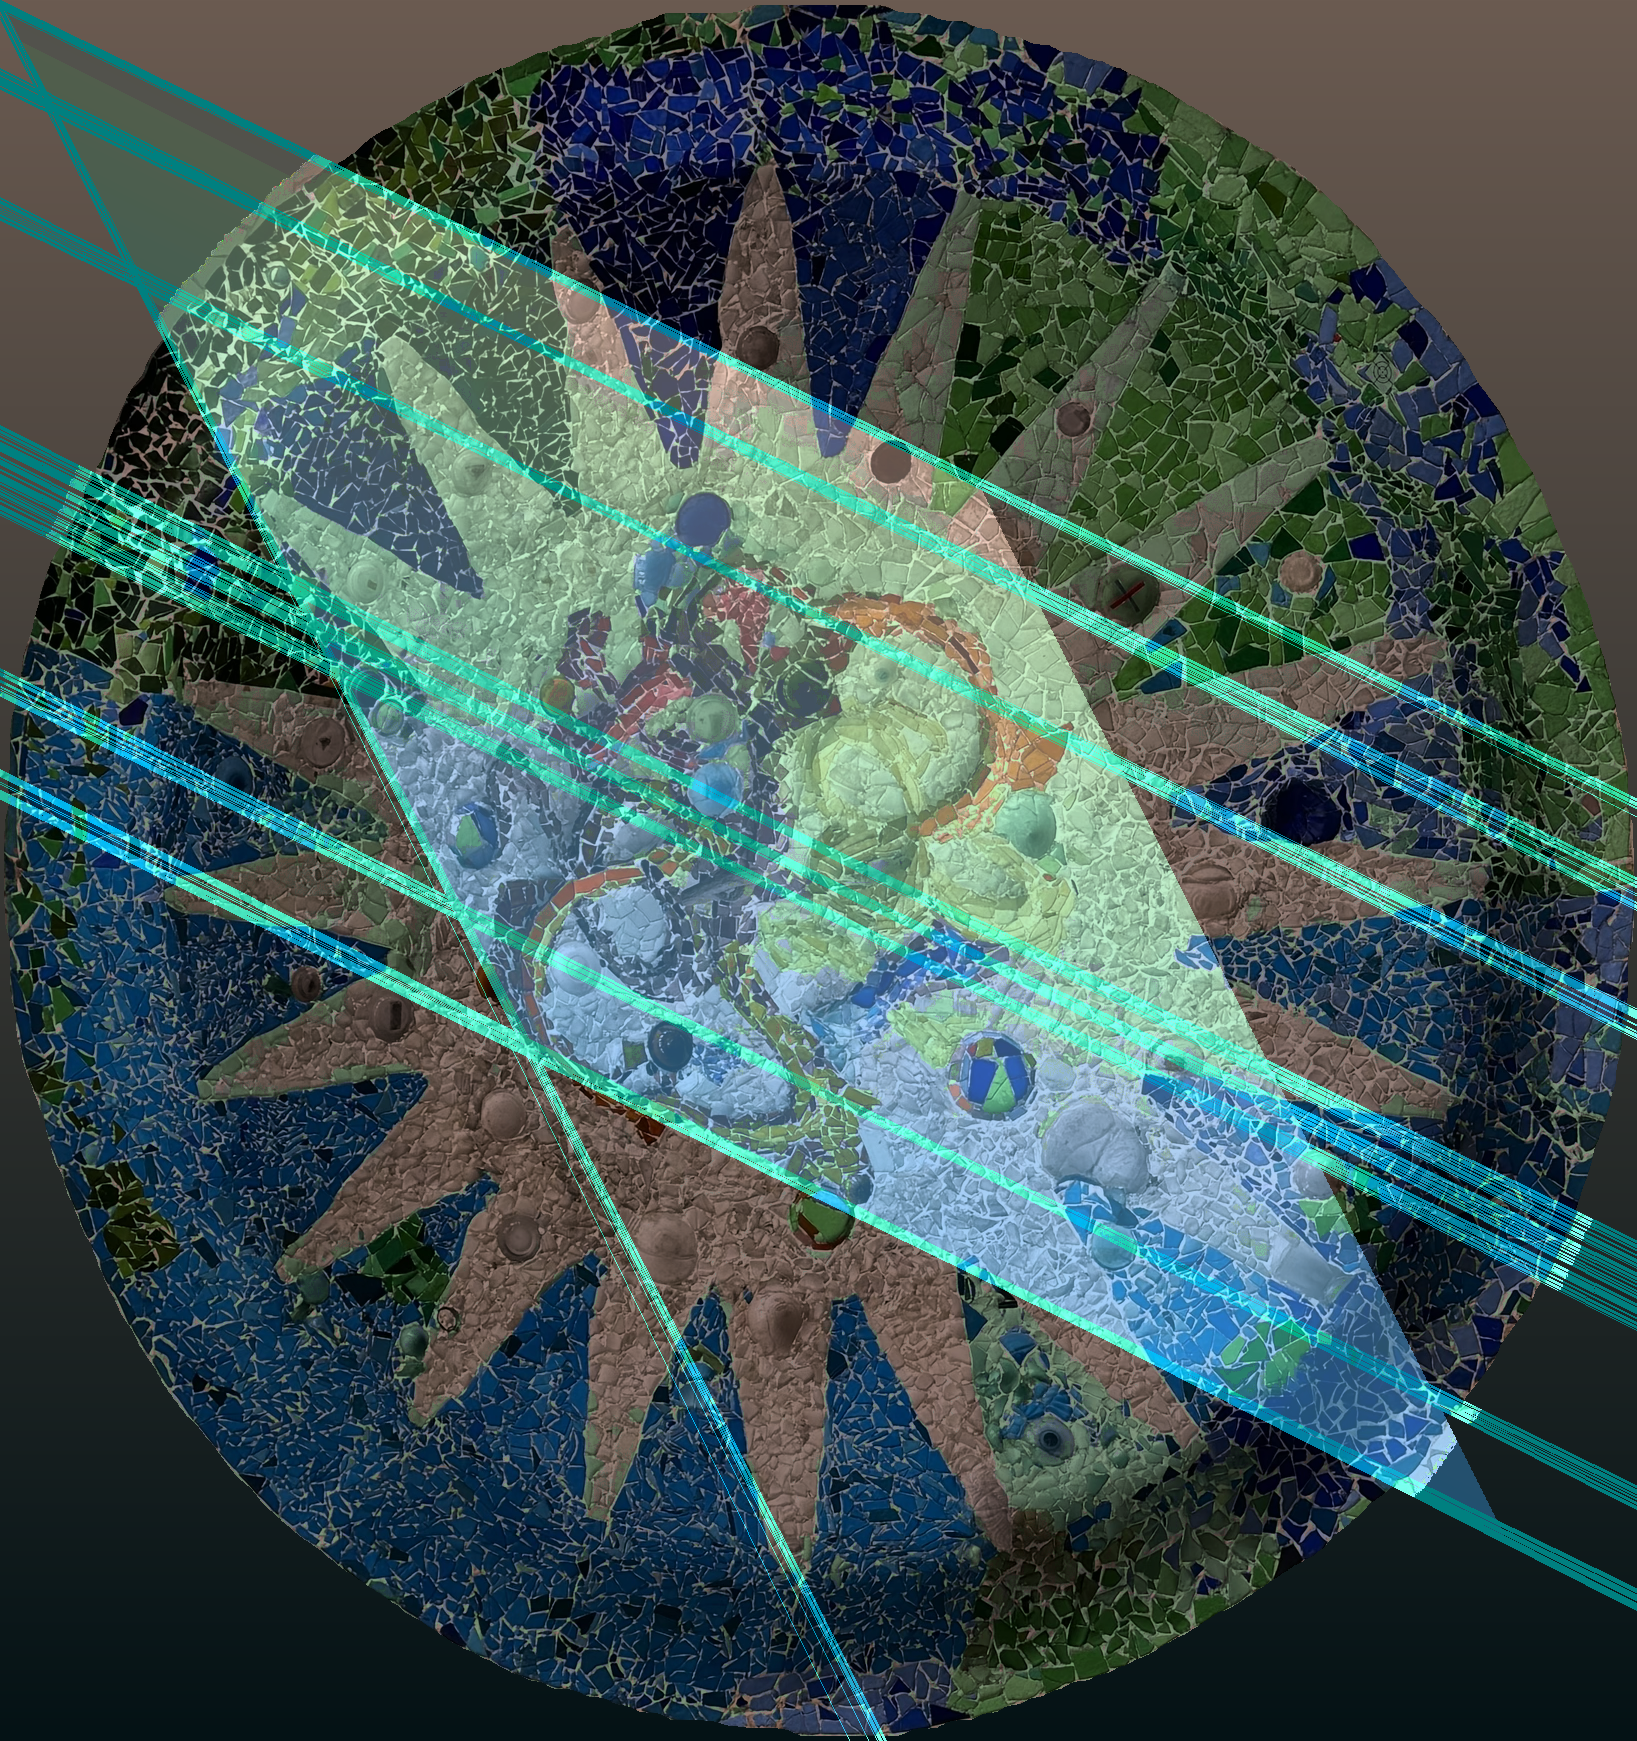
This function takes in a png image and analyzes the color makeup, and calculates the most and second-most appearing colors from the BGR. From there, a primary color is selected that appears in the image that corresponds with the BGR that appears most, and a secondary color is selected as well. A color gradient is then created vertically that transitions from the primary to secondary color, and uses that as the background.
slantFilter(image):
This function takes in a png image and applies an affine transform to create a slanting effect. We first define a basic linear transformation matrix and a basic translation matrix. Then, the function loops through every pixel in the image and at each row column vector, the transformation and translation are applied to determine the new row column vector it will be mapped to. The new vector is assigned the pixel value from the old vector, producing the slanted image.
lineFilter(image, bgr, sensitivity, thickness)
This function takes in a png image and a BGR color and manually implements the Hough Transform to identify straight lines in the image. First, the Canny edge detection function is used to identify edges in the image, where straight lines are likely to be found. Next, an accumulator array is created and at each edge point, a polar representation of a straight line is used to determine a distance-angle pair of a line passing through that edge point for varying angles theta. The more a certain distance-angle pair accumulates, the more likely an edge is to be there. After accumulation, the array will contain sinusoidal data, and points at which sinusoids intersect represent a likely line. The sensitivity parameter defines how bright the accumulation must be to qualify as a line. These lines are then extracted and remapped back to cartesian coordinates and drawn on the image.
layerImages(image1, image2)
This function takes in two images of the same size and assigns one to be the background and the other to be the foreground. Then, the images are layered on top of each other using the cv2.addWeighted function with a certain opacity.
colorEnhanceFilter(image)
This function performs a simple color enhancement to an image. For each pixel in the image, the function identifies the largest BGR value in the pixel and scales only that color channel by a factor. This has the effect of enhancing the colors in the image.
photoOnBkg(image, bkg)
In a more advanced way than the layerImages function, this analyzes the png alpha filter and adds the photo onto the background, and permanently sets the alpha channel to 255 to account for discrepancies in alpha values when the image initially has an alpha above 100 and is somewhat visible.
Here is an flow chart that shows the process of image modification:


